709-218-7927 The Landfall Garden House 60 Canon Bayley Road Bonavista, Newfoundland CANADA A0C 1B0 |
|
|---|
.JPG)
Rain-Water Harvesting
Water Filtration (tongue-in-cheek)
5th-Generation Trough
Thursday, January 12, 2023
I rebuilt the 4th-generation trough last summer, using sheet leather as hinges for the two wooden pieces. The Autumn gales shredded the plastic and one piece was found across the street. Of course sheet polythene that is designed to provide a moisture barrier between walls easily degrades in direct sunlight. Brittle, a small piece offered entry to the gales and Whoosh! It was stripped off like a spinnaker in the Sydney-Hobart yacht race.
This will be my fifth generation, and the best so far. See the end of this page for my ideas for the sixth generation.
A week ago I brought the bedraggled trough into the kitchen to dry off and this morning made a new liner.
I am still using polythene sheet, but now a staple gun will fix the three edges along each of the four edges of the trough. And I shall augment the staples with a generous dollop of wood glue.
Picture the sheet lining the trough, then bring the edge of the sheet over the edge of a plank and round to the other side. Stapled at the edge of the trough, stapled along the outside edge of the trough. And stapled again on the underside of the edge of the trough. And where there are stapled, there be glue!
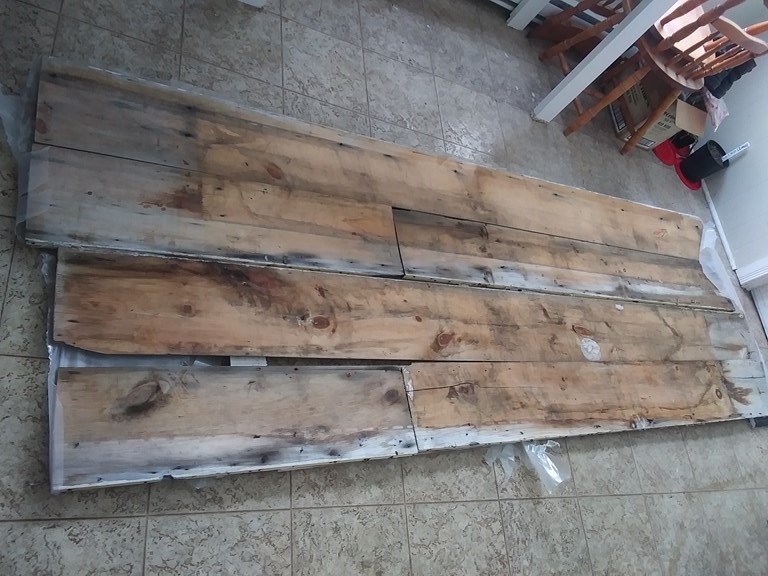
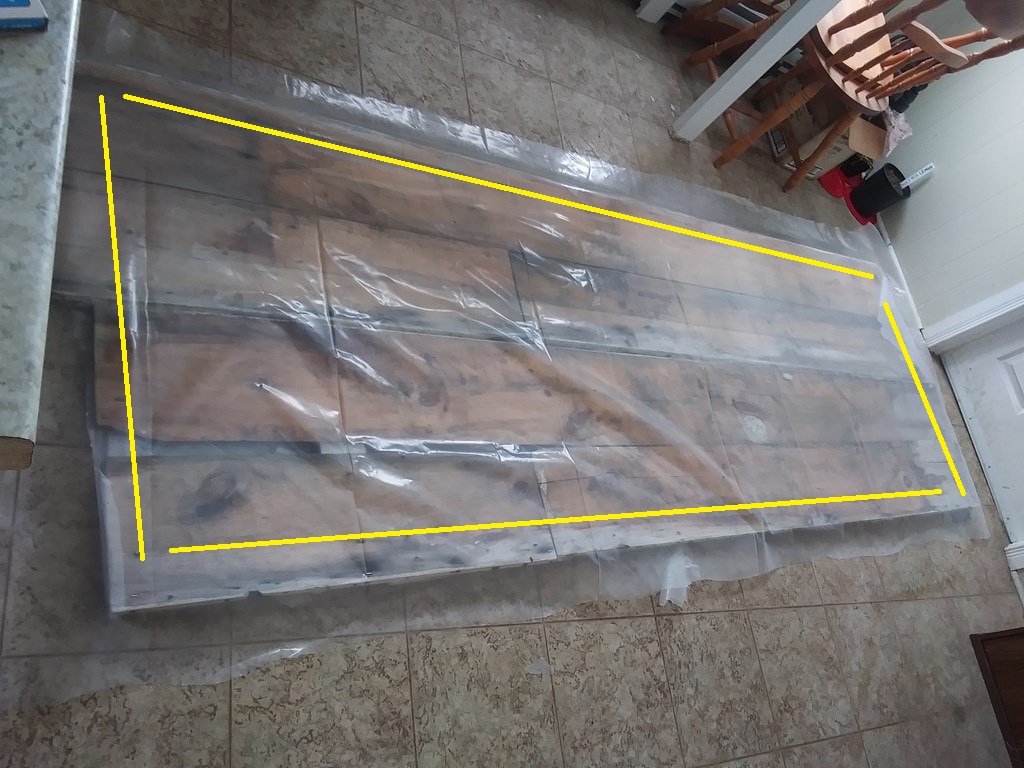
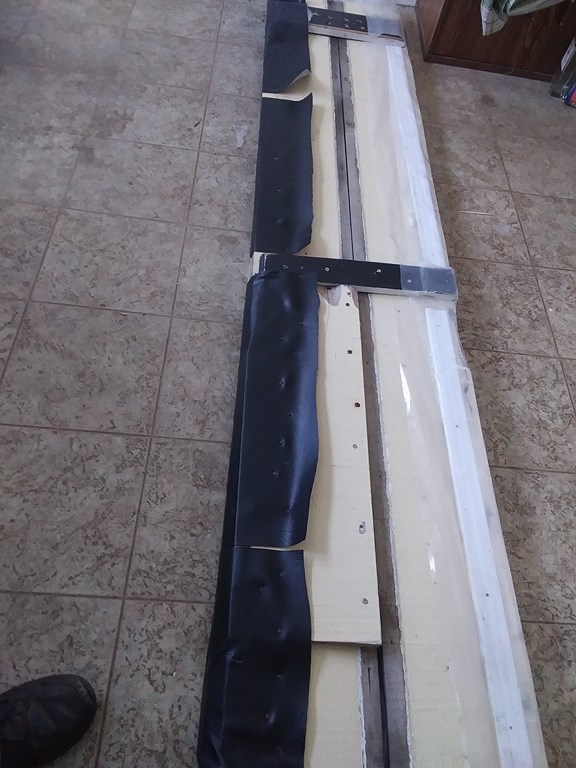
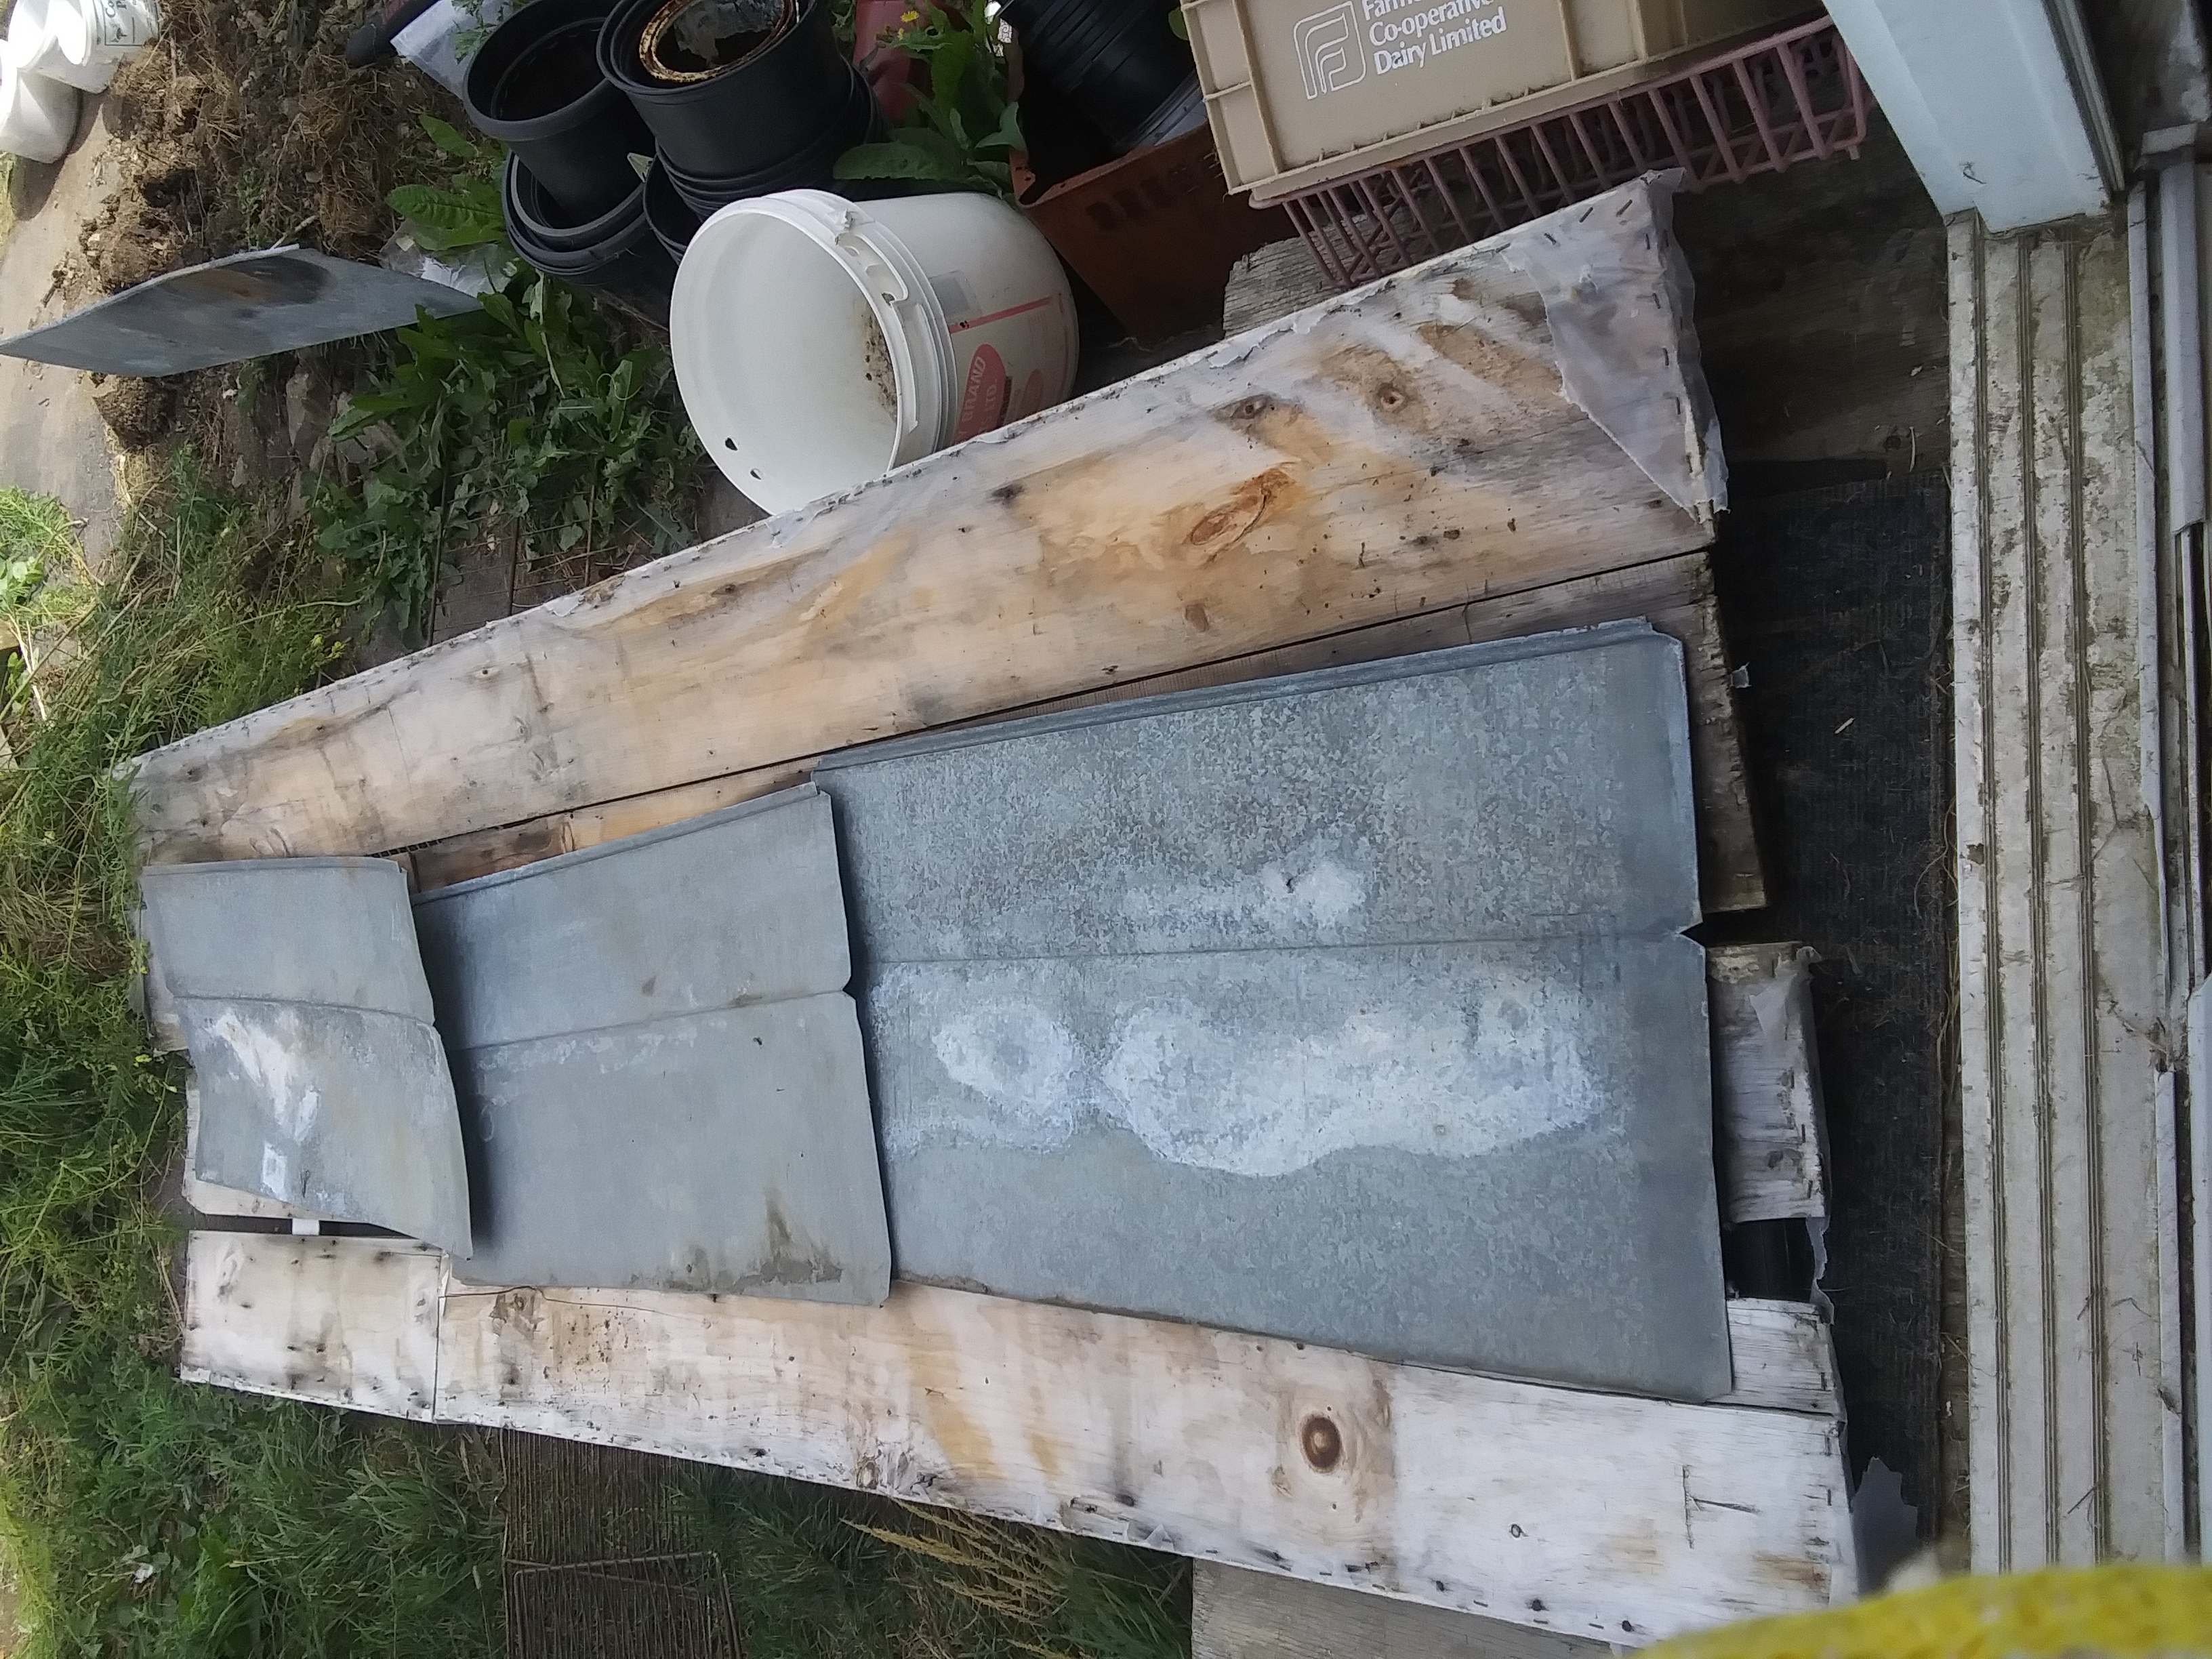
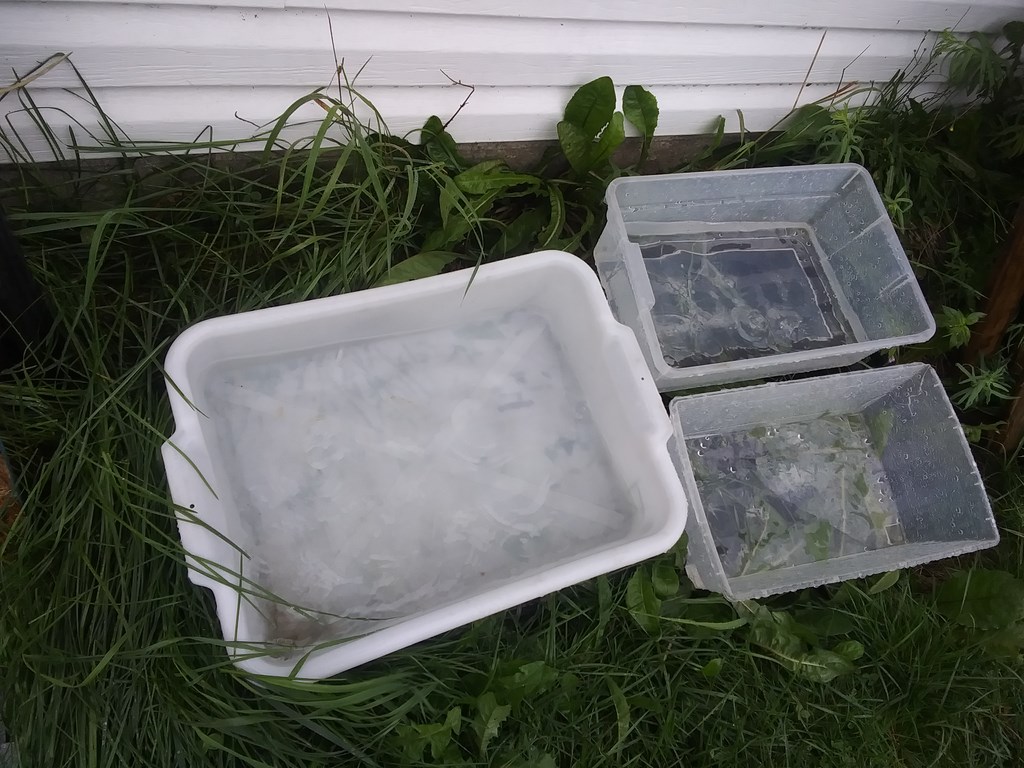
The trough laid out on the kitchen floor. Dark patches show water damage, but the harvested water always ran off a plastic sheet tacked to the timber.
Jagged edges of the old plastic wait to be removed.
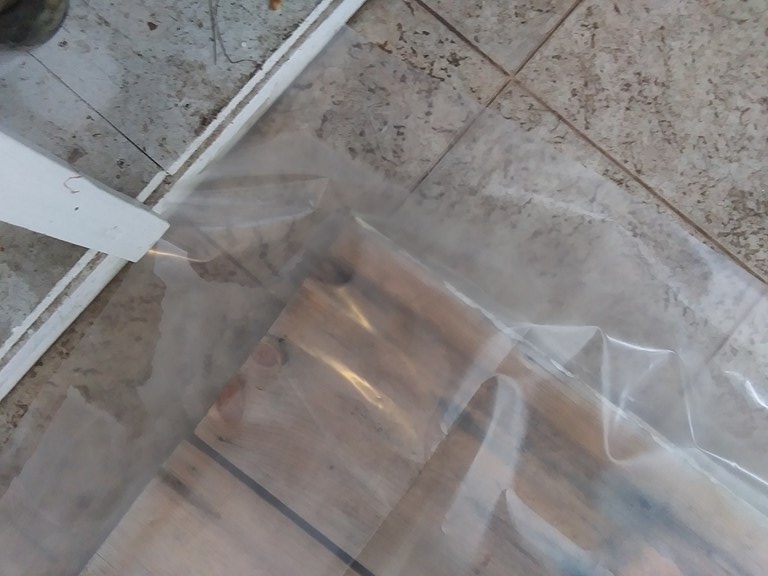
I have opened my new sheet of plastic. The sheet comes of a roll that is about three feet wide, but the material is pleated. I needed 10’x5’ so we cut off a chunk ten feet long and, I suppose, about eight feet wide once un-pleated.
I have dragged the sheet so that six inches overlaps one end and adjacent side. The excess will be trimmed away.
Here is a wider view. The side nearest my feet will need to be trimmed to leave a six-inch overlap down that side.
At the far end I have folded the excess. It too will be trimmed off early on.
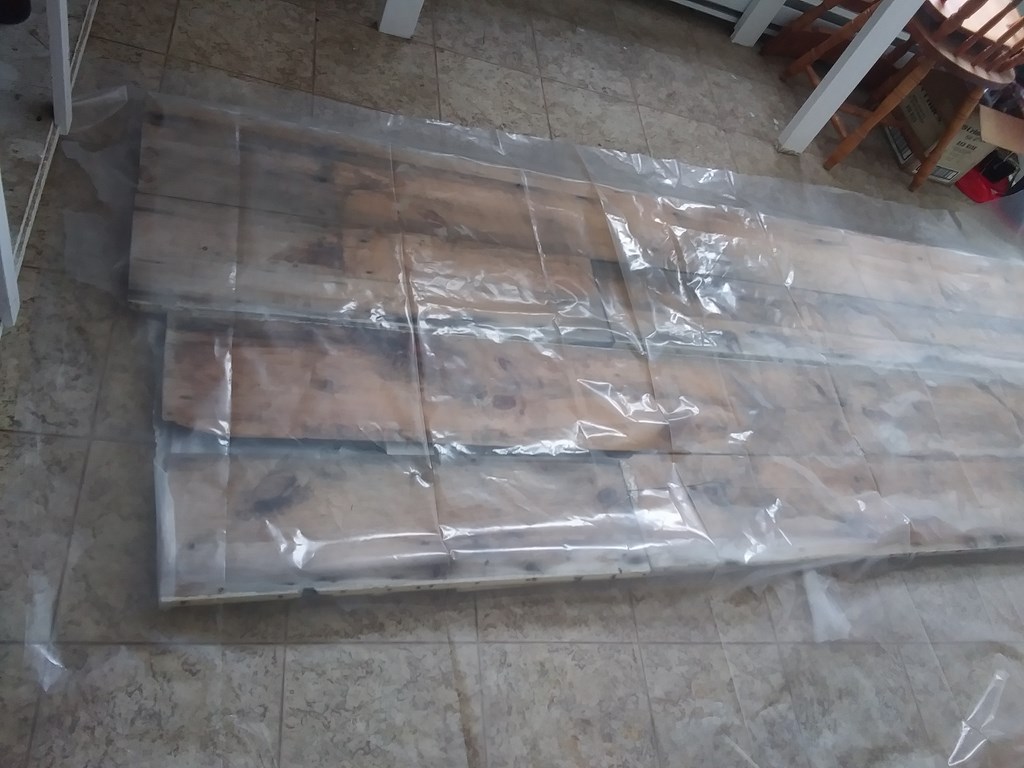
And here we are, trimmed off, with a six-inch overlap all around.
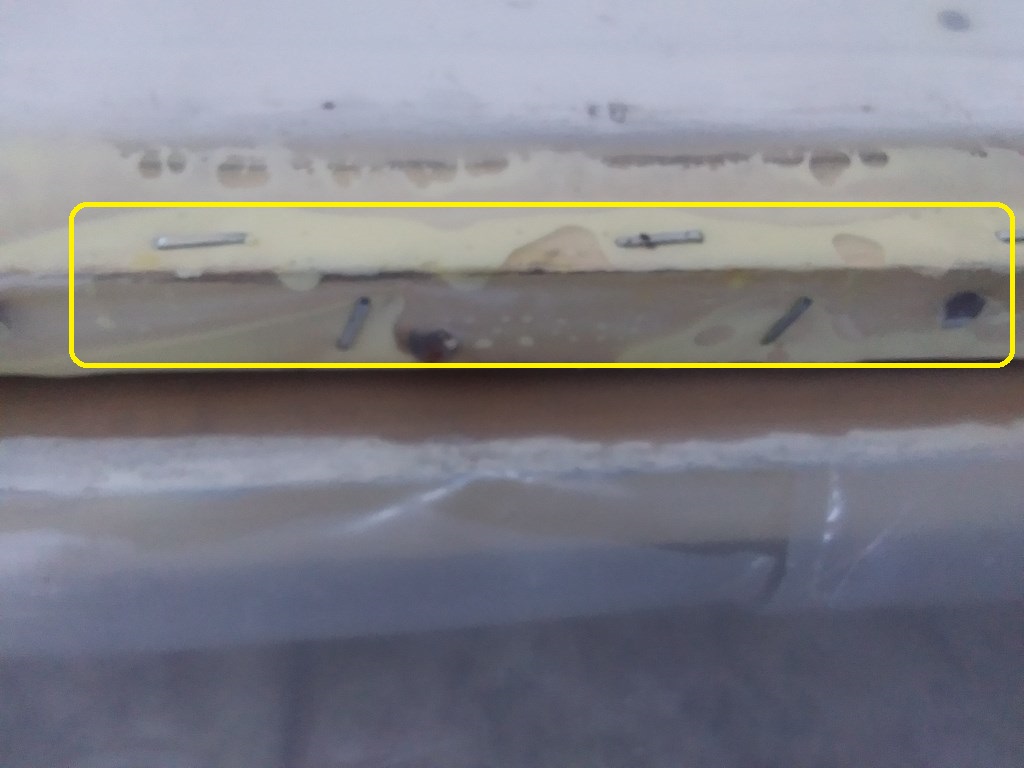
I will tack the surface along the lines in yellow, then glue and tack the edge and the underside.
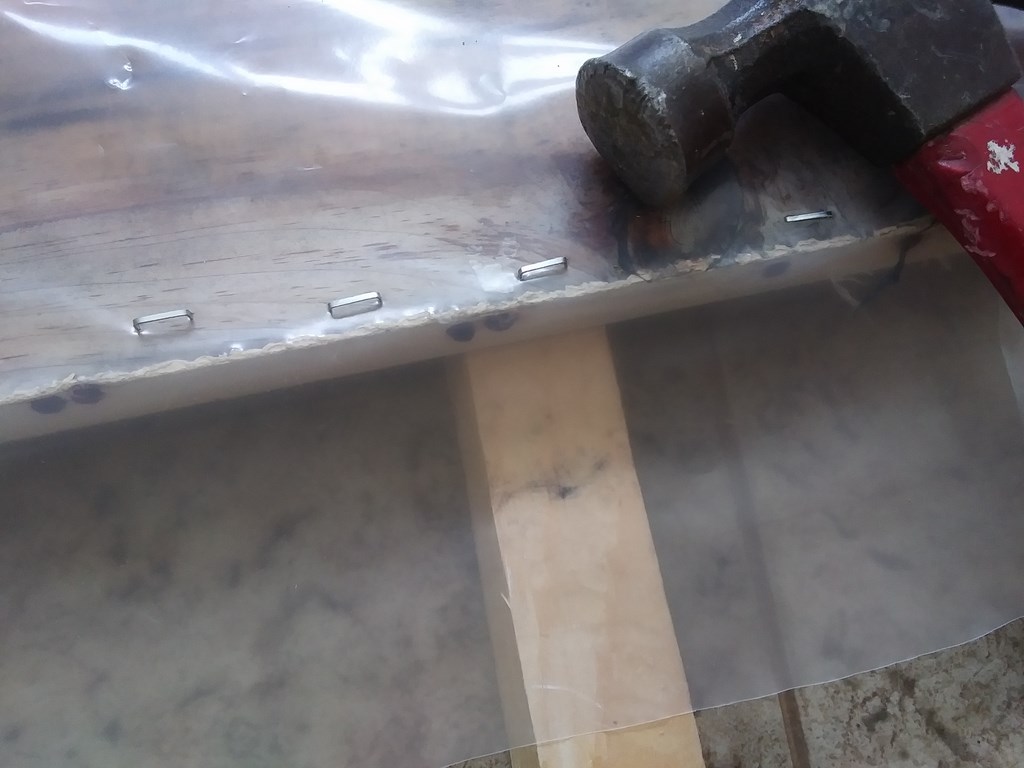
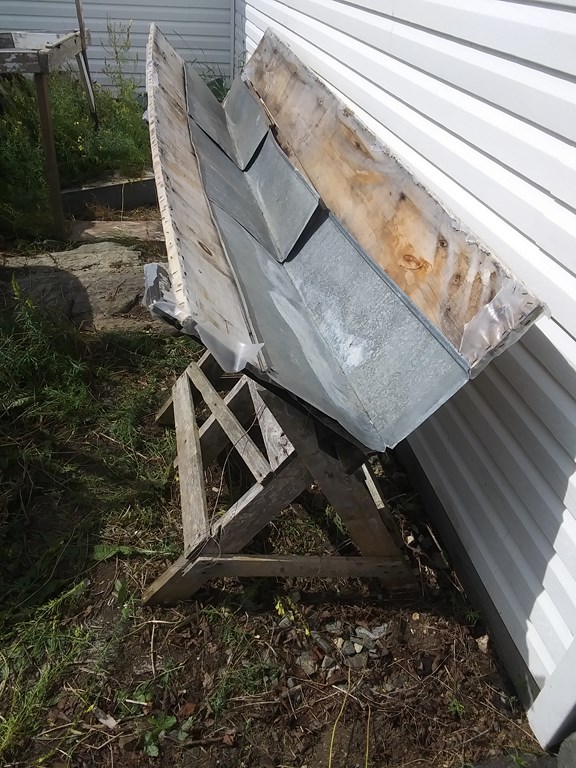
I used a short off cut to support the trough, because three cross-braces lifted it above the ground. My first real job using a staple gun. I don’t know why the staples didn’t go right in, but “If in doubt, use a hammer”.
I should have stripped away ALL the old plastic before laying out the sheet; awkward it is to strip it away while the new sheet is in place. Likewise the batten strips I used to retain the old plastic, they should have been levered off and put away. If you are kneeling to do work, make sure you sweep away all tacks, nails etc before you kneel. The ragged strips at the end, too, should have been stripped. Next time I will …
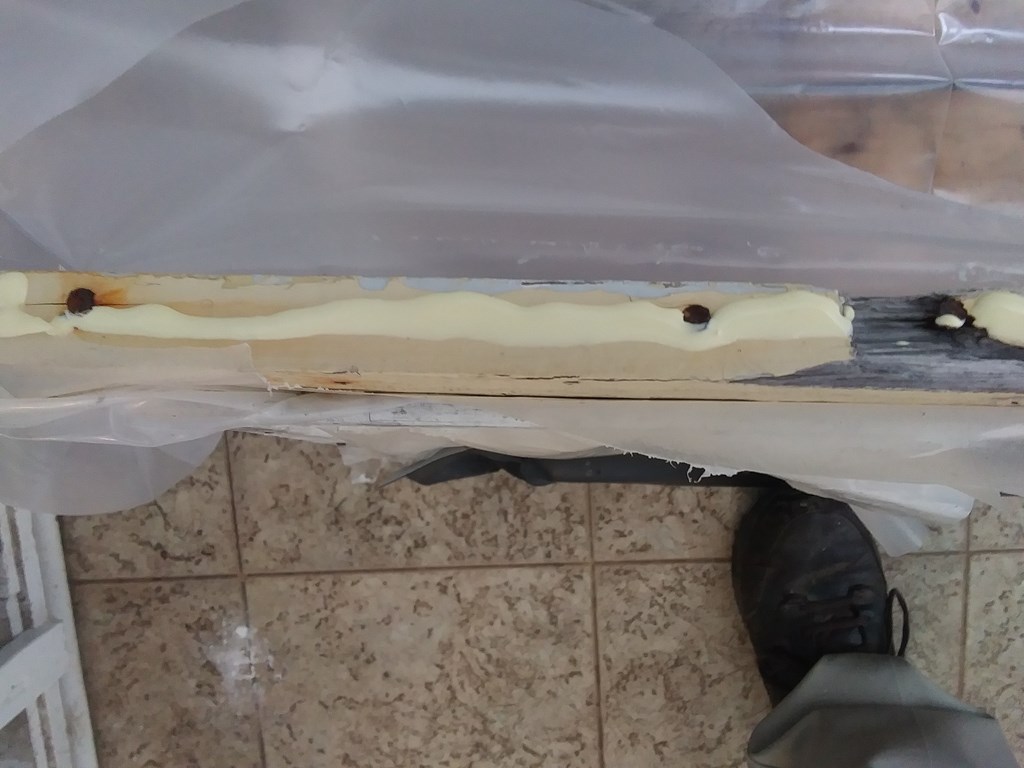
I made liberal use of my bottle of wood glue. Those two old rusted tacks, they too ought to have been removed. I have been putting off this job for a month, and was fired up and too eager to get it done,

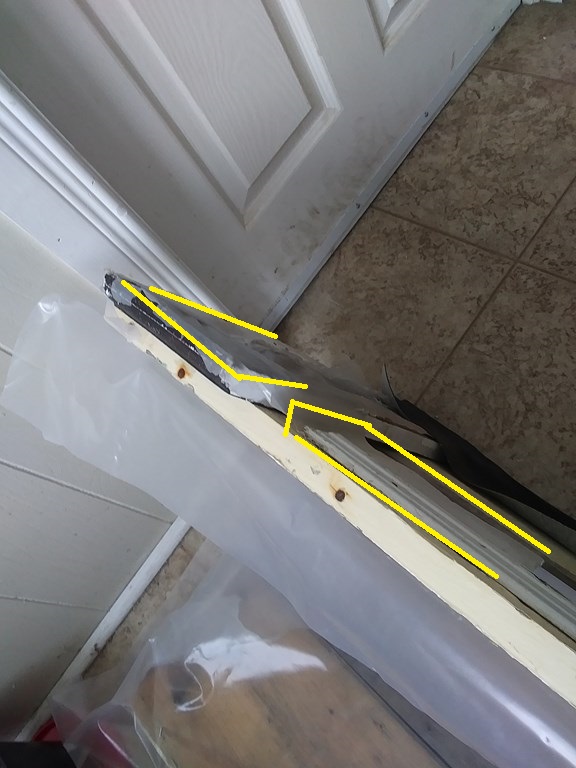
My sheet climbs over one of the three cross-braces that hold two plans together. That white batten should have been removed, but the black cross-braces stays. There is therefore a gap where the plastic sheet climbs up to cross the brace.
I will slit the plastic to make a closer fit, glue and staple, but leaving a vulnerable entry-point for the wind. By January 2nd (!!!) this year we had had gusts up to 93 Km/hr. Last January the maximum gust was 140 Km/hr.
This version is supposed to prevent gales ripping away the plastic sheet.
So why am I leaving a little gap? I reason that the gales can’t rip off the sheet if there is no way for the gales to pass right through the sheet. I am depending on a sealed barrier on the other side, or perhaps enough very small gaps to dissipate the force of the gale.
I have now stapled the edge of the plank and the underside. I am getting better at glue. Each row of staples must be hammered down.
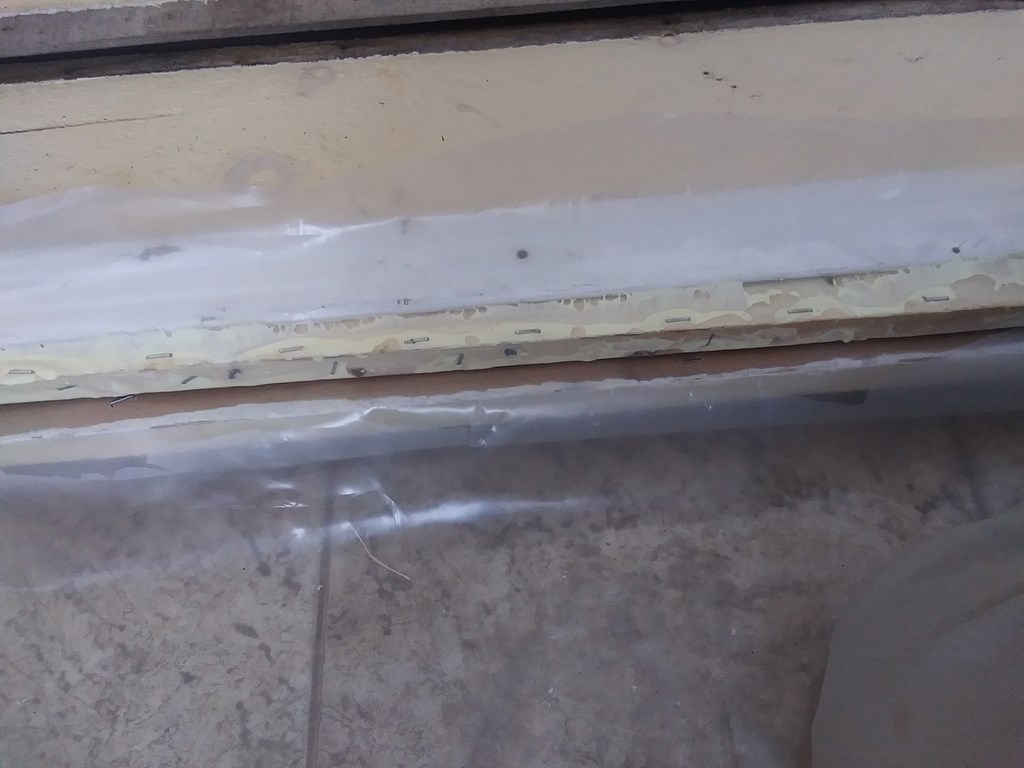
Now this is a near-perfect gluing. I squeeze the glue, stretch the plastic, then run my thumb along the edge to smear the glue an inch wide before stapling.
Here is the trough, laid out flat. Some glue dripped down in an earlier phase.
Initially I had thought to glue the sheet right across the trough, but decided that that was overkill. Besides, I already have plans for version six!
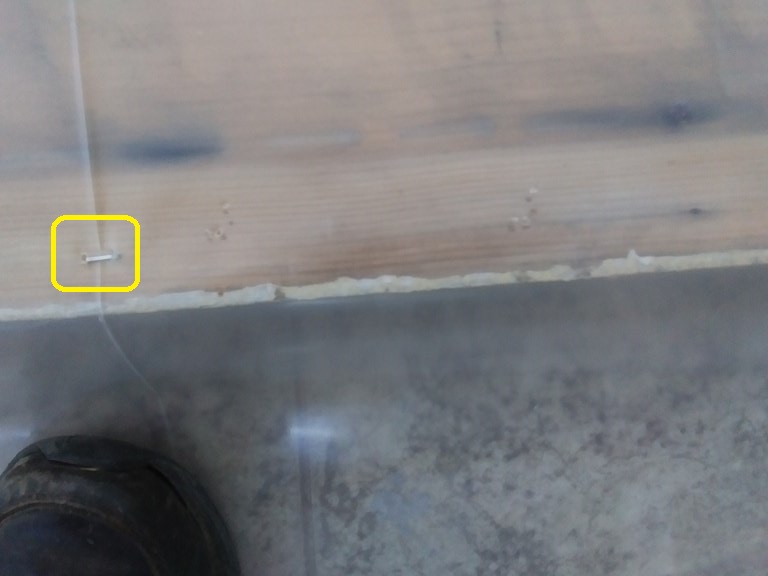
The far edge id triple-stapled with glue.
The original tacking was a staple every foot or so. Should I pull out the initial staples and stretch the plastic for this second side? I decided against it. The hinged trough frame is not orthogonal, so no matter what I do, I will never get a true straight line at the bottom of the plastic sheet “V”.
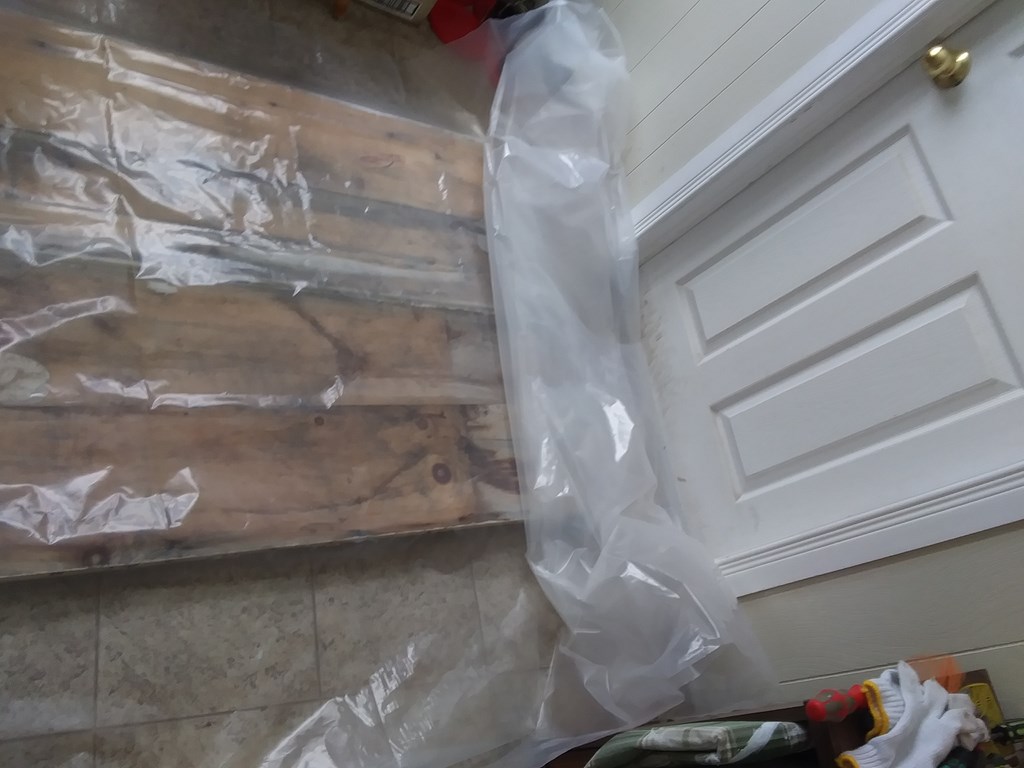
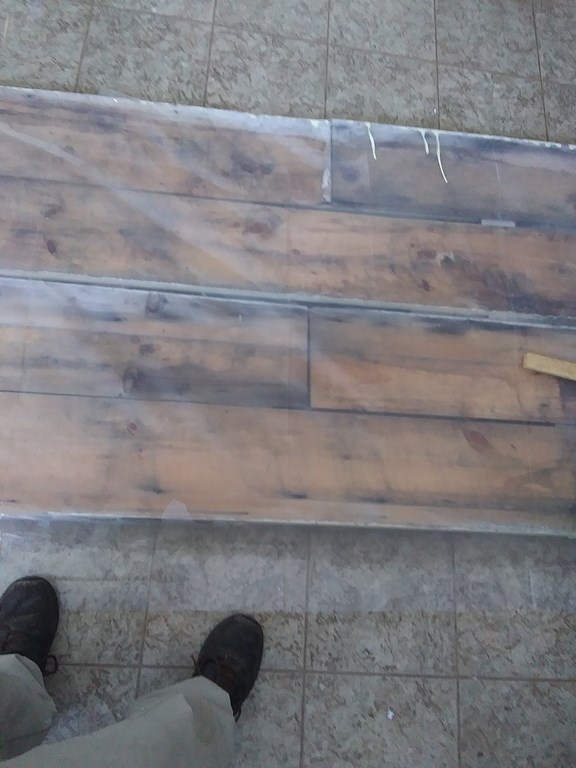
Done! (almost). The trough sheet is stapled and glued along both long edges. Now I have folded it up.
Down the left-hand side of this image you can see the huge faux-leather hinges I installed last summer.

In this view two of the black timber cross braces can be seen. They will not be needed for version 6.

I will leave the glue to dry overnight, and tomorrow morning will deal with the two ends, preferable propping the trough on the table so that I don’t wreck my knees and back by working on the floor.
Ideas for the Sixth Generation
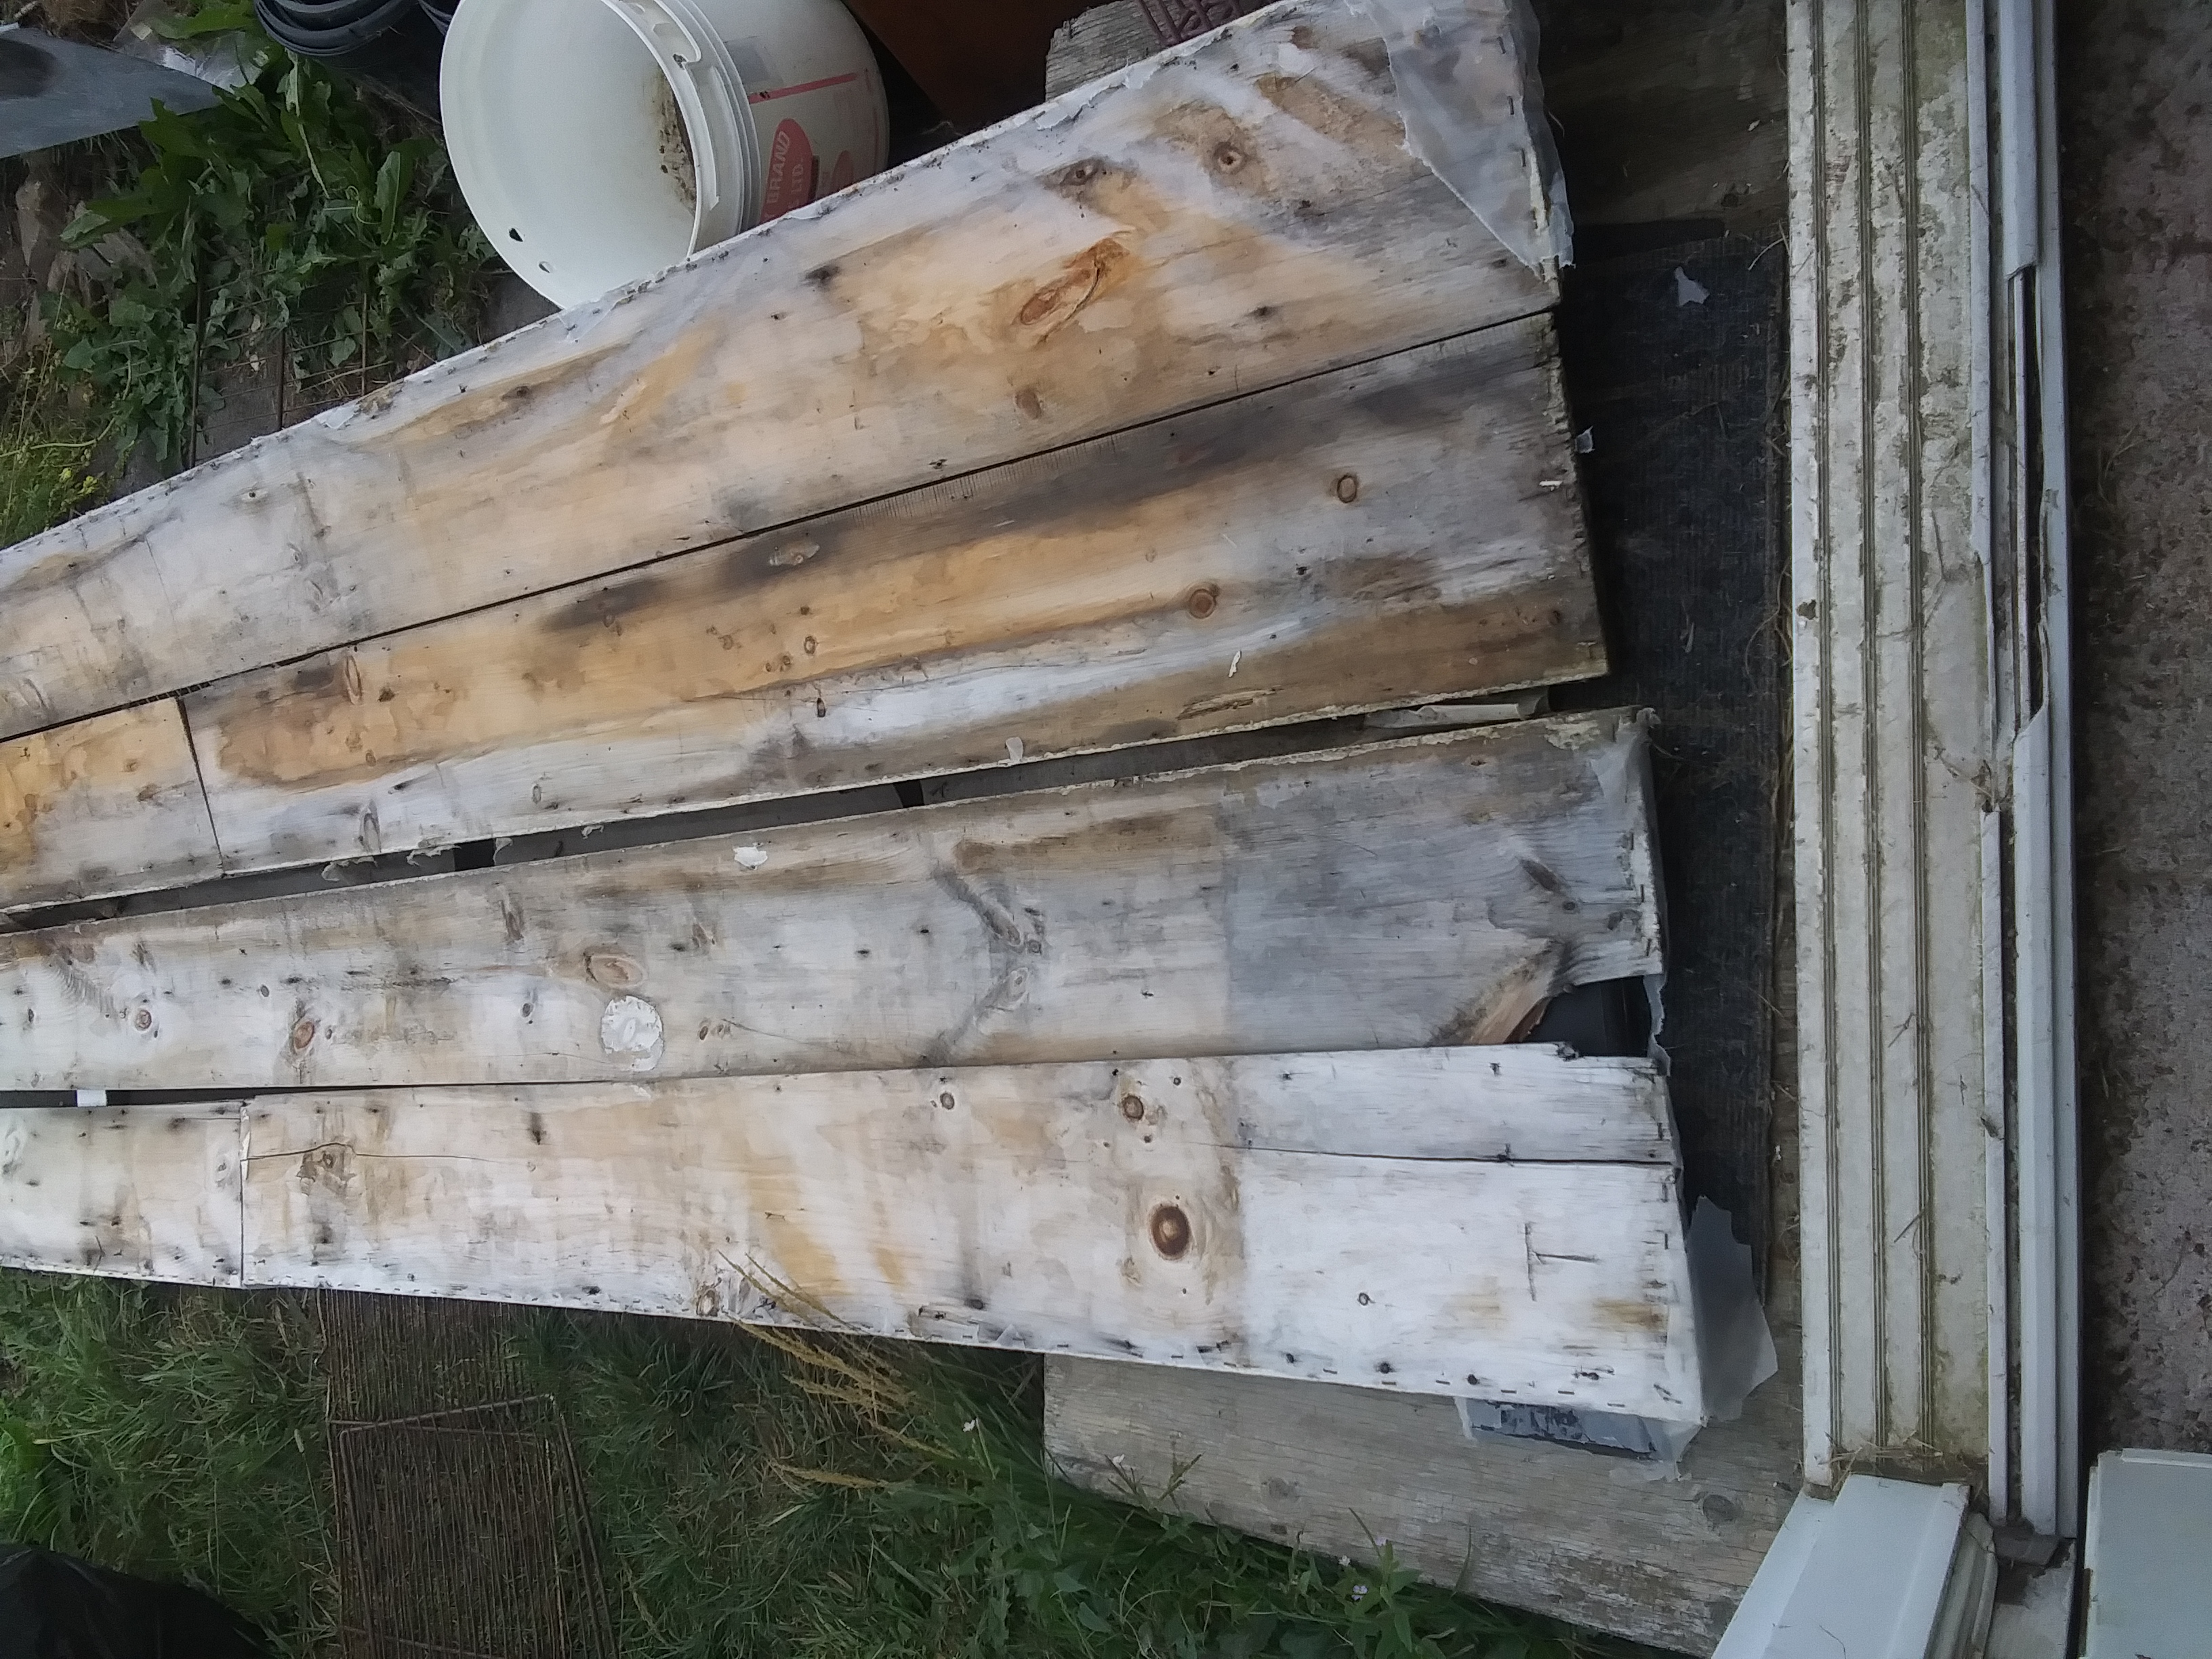
This trough is about nine feet long with two sides of two feet each. The timber came when Lloyd and Selwyn stripped siding from the convenience store in spring 2019. By then I had seen how much rain could be collected in a 15-inch wide plastic drawer.
Four years later I believe that I do not need a two-foot wide throat.
Rain falls off my roof (no eaves troughs), and gets blown this way and that. The wider the throat, the more rain water I catch. But I catch much more than I use, perhaps three times as much.
So my next version will not be a wide-throat trough cobbled together from left-over scarps of timber. It will be a sold device mad from two planks of the widest timber I can get from Swyers. And if it is only eight-feet long, no matter.
Remember that I am capturing water from an eight-foot length of roof that itself is ten-feet to the ridge. That is, my catchment area is eighty square feet.
10 |
mm |
Rain |
|---|---|---|
80 |
sq ft |
catchment |
0.39 |
ins |
Rain |
0.03 |
ft |
Rain |
2.62 |
cu ft |
Rain |
1 |
cu ft |
|
6.23 |
gallons |
|
16.35 |
gallons |
Rain |
If I’ve done my sums right, January 2022 we had three days with rain above 10mm. That means that that month I could have collected nineteen gallons without switching pails at two in the morning. Last September four days of 10mm or more, and remember, on a day when we get more than 10mm I may harvest a pail during the day and a second pail while I sleep.
A 25-litre pail (of which I use three) is over 5 gallons, so I often collect one pail by the end of the day and a second pail overnight.
If I catch only 80% of the rain with a narrow throat, I will still have more than enough.
Saturday, January 14, 2023

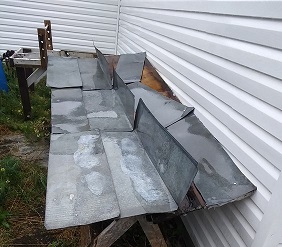
The nine-foot rain trough is complete, stapled and glued on three sides around all four sides of the wooden trough. Both ends could be crept in a little closer to the wall.
Predicted rainfall is 25 to 50 mm to Tuesday morning. That should yield me over 80 gallons (if I run outside at 2am!)
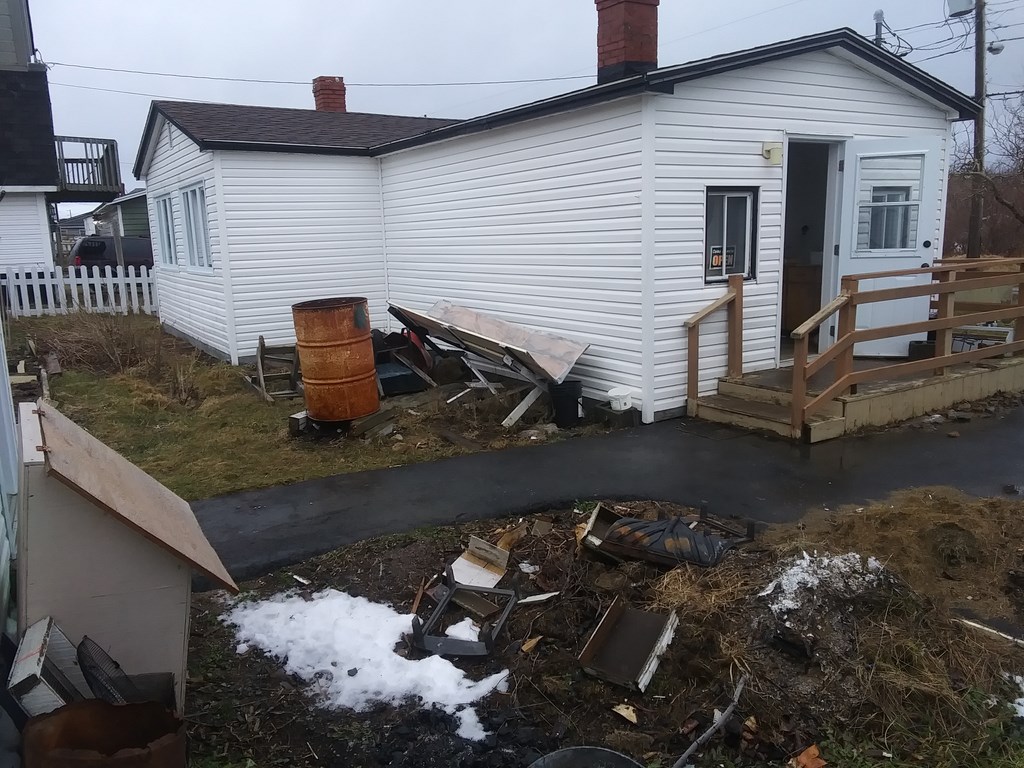
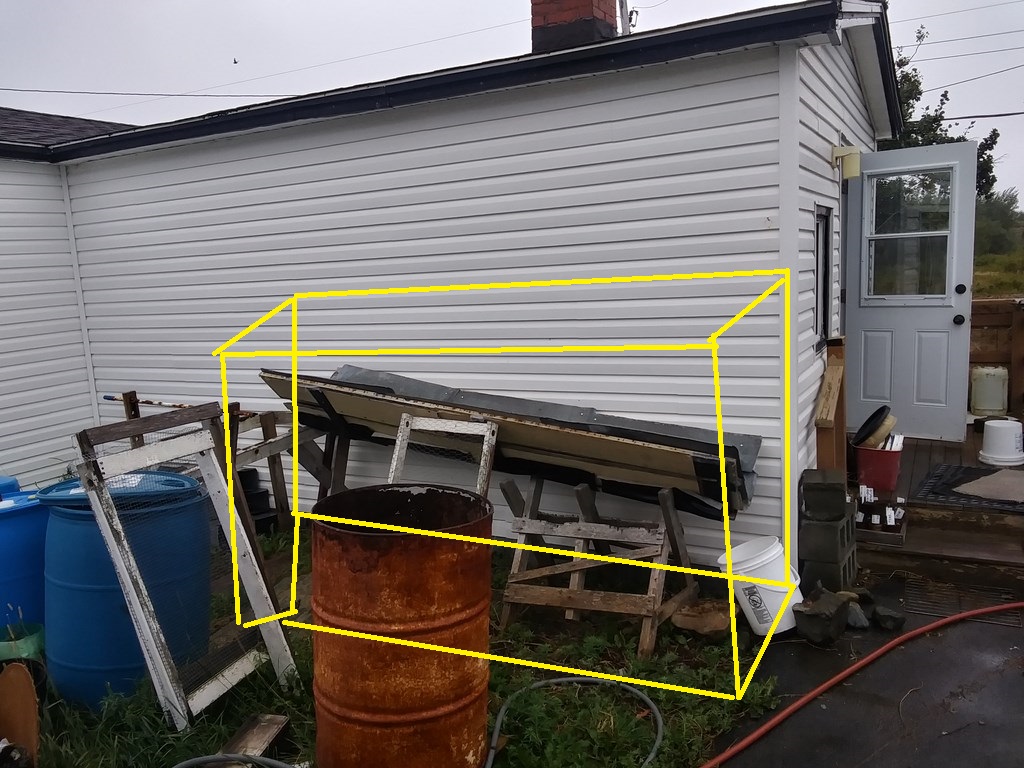
The view from the shed. Note that the lower end of the trough (where the rain water trickles out) is adjacent to my door. I don’t bother putting on a coat to collect the pail. In this photo my black pail is filling up. I shall let it overflow and then tip out the collected water. There is enough rain to use it to rinse my pail!
The view from my back yard. There is quite an incline on the trough.
Wednesday, August 28, 2024
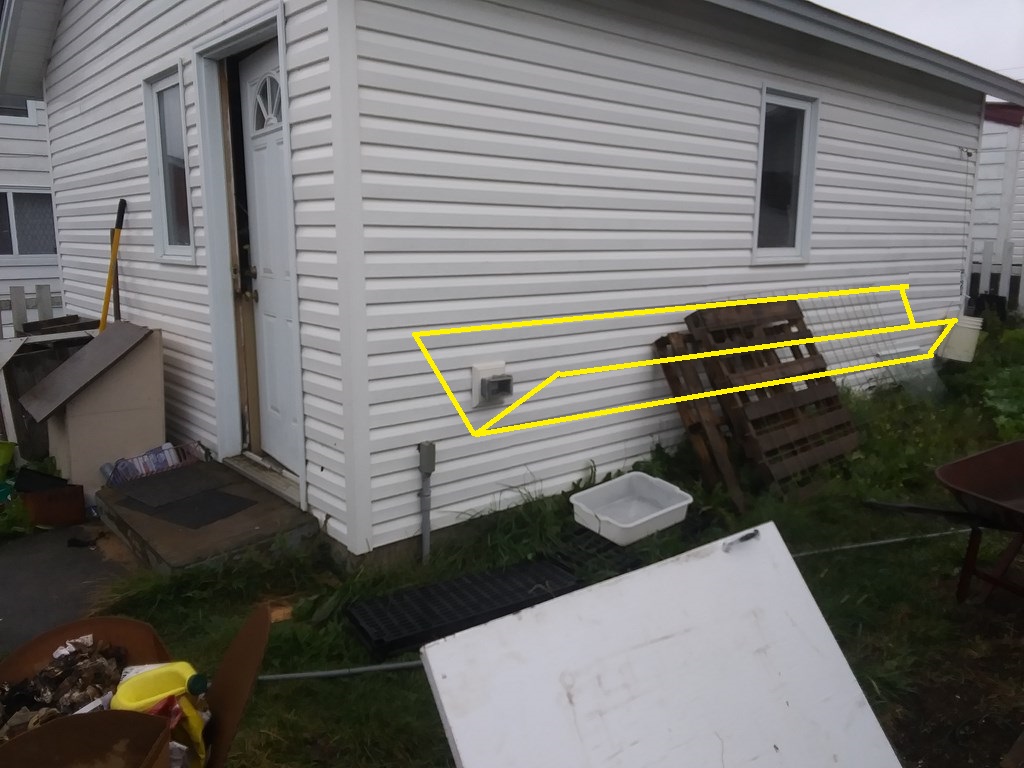
By 1130 I have stripped out the weeds from the site against the kitchen wall, removed all the large rocks that served as crude foundations.
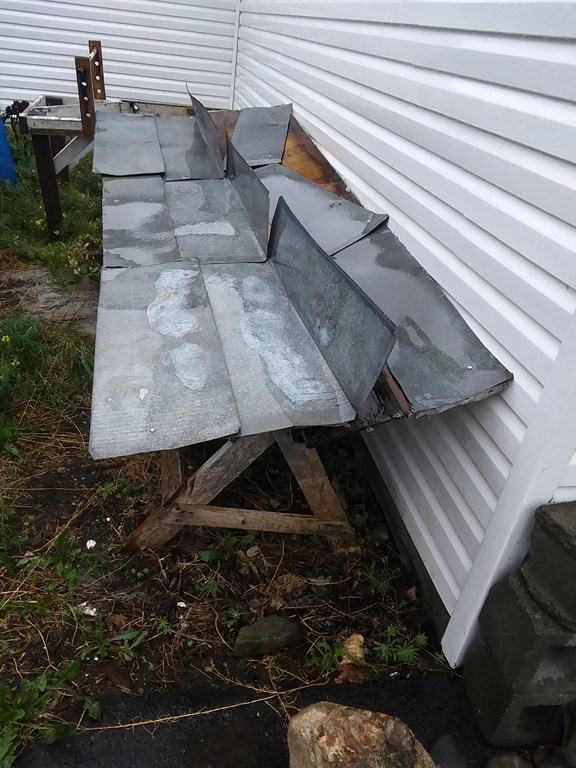
The chute is dragged out of the shed (making even more space Hooray!”) and is stripped of the remnants of dead plastic from last year.
I place just three sheets of opened heating-duct on the timber. These will be screwed on one side to make a secure fix to the timber, and then tacked (still with wood screws) on the other.
The broad flap of the steel sheet will be away from the kitchen wall; wind often blows falling rain to the outside edge of the trough.
I will finished this stage this afternoon and set it up for a trial run this afternoon/evening. I might place a heavy rock in the trough of each sheet to help to hold it in place.
Lunch!
Two friends, Matt and Ross dropped by with a 3rd load of grass clippings today and I dragooned them into helping me lift the now-heavier trough into position.
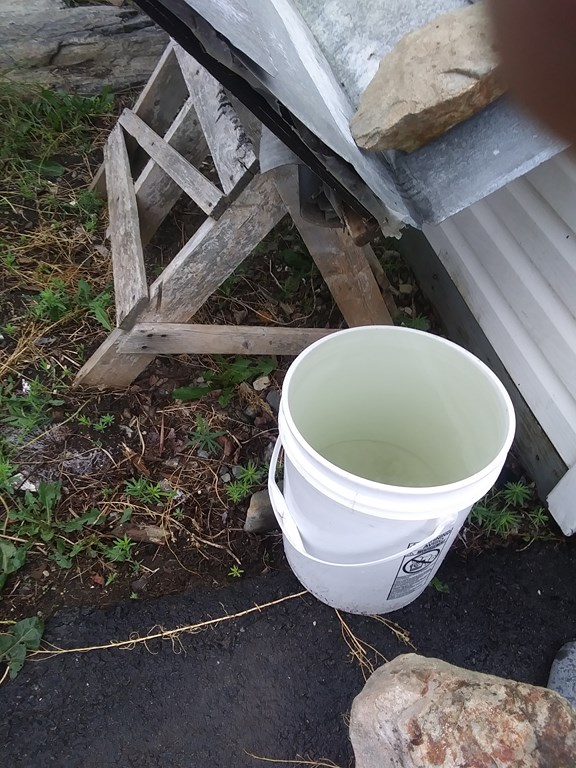
The lip of the galvanized steel protrudes about two inches beyond the wooden supporting trench.
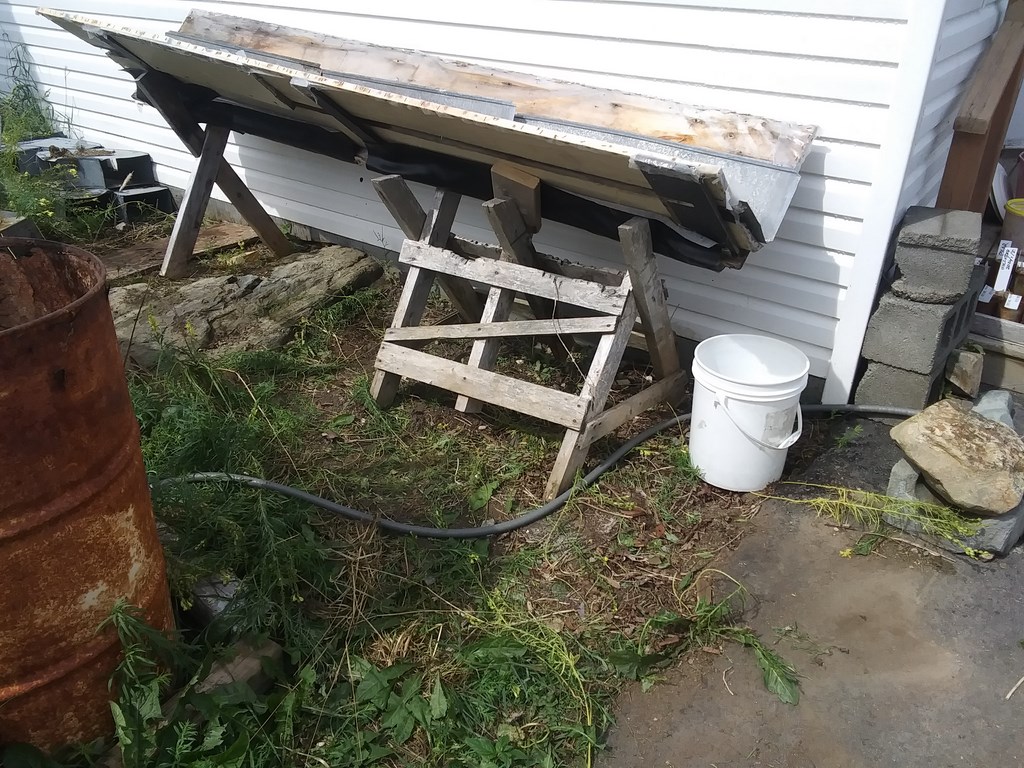
I have rinsed it out, placed wedges to adjust the slope, set a pail, and am now waiting for this evening’s rainfall.

Thursday, August 29, 2024
This morning the pail was overflowing (hooray!) with brownish water (boo!). Why brown? I suspect that rain fell on the steel and on the wooden trough sides, some of the water ran down the wooden trough and dropped into the pail. The brown hue comes from the old pine wood.
When the fine weather returns (Friday, Saturday and Sunday) I will screw sheets of gallivanted steel to the top-edges of the troughs, so that rain water hits the steel and runs down into the original troughs I made yesterday.
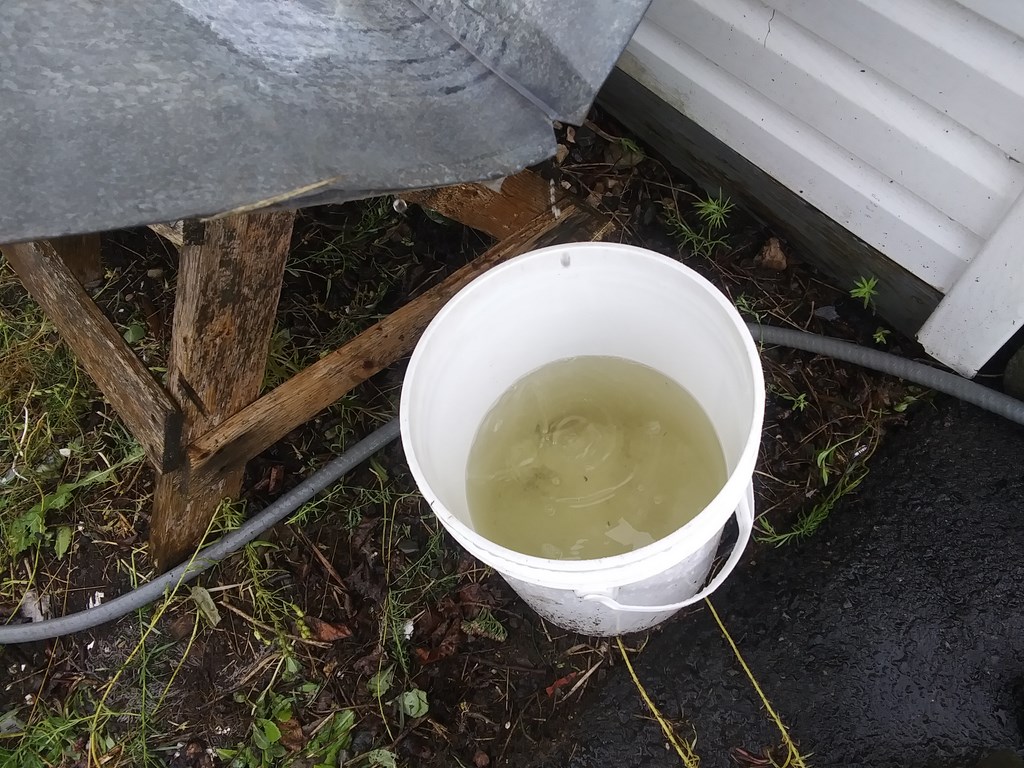
In the meantime I am delighted that a full 25 litres of water was collected overnight.
I had put out two extra trays, and so I harvested 25 litres of clear rain-water from these trays alone.
Enough to start the fall storage.
My first full winter here (2029-20) I almost ran out of rain-water. We have a drought of rain for up to three months mid-December to mid-March. Plenty of snow, but no rain.
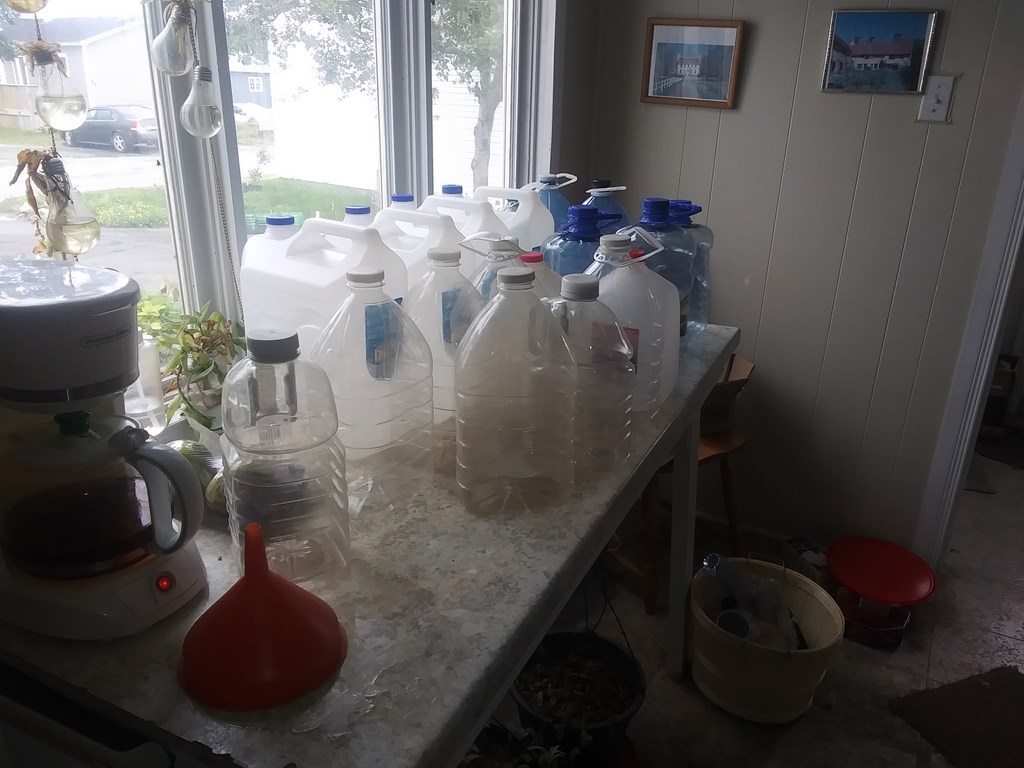
I began accumulating 25-litre carboys and even smaller bottles, so twice a year, early September and early March, I fill all my jugs while the rain falls and sleep peacefully throughout winter.
I figure that a good rinsing with a dilute bleach solution should help inhibit algae growth. An inch of water and a Ľ cup of bleach in the first jug, lid on, swill around up and down, then pour into the next jug. Cap the first jug and leave it empty with its film of bleach until it is time to refill.
At that time I rinse out the jug to remove any trace of bleach and fill it through a simple cloth filter.
So far (five years) no algae growth.
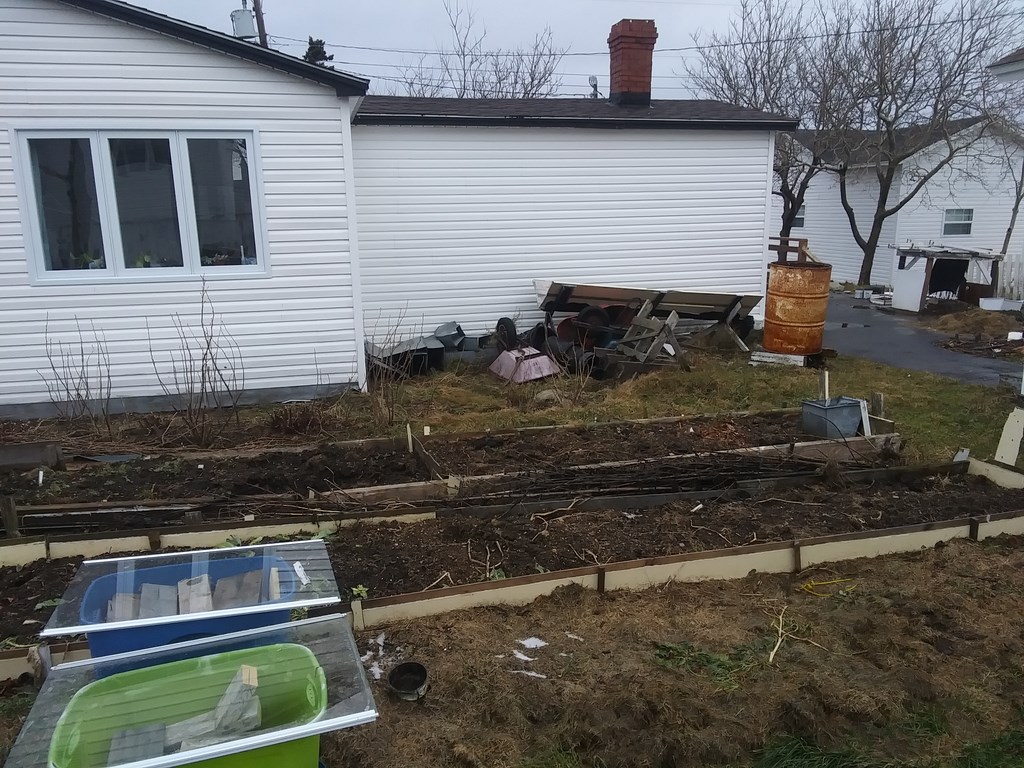
Above you can see my collection of small jugs and carboys have all been rinsed and are being filled day by day.
Monday, September 09, 2024
I shan’t say that the New! Improved!! Rainwater trough is a disaster, but I was disappointed this morning to find that the trough had settled out horizontally and some tacked sheets had wrenched free. And today we are expected top get 20-40mm of rain.
Once the wind and rain dies down, I shall fasten the sheets more securely to the trough and provide properly angled and heightened troughs to hold the trough firmly and on a decent slope.
The thought crosses my mind that I am using siding ripped from the Convenience Store in 2019, tacked together. I might be better off using a new sheet of chip board, hinged with T-hinges BEFORE being sliced. Lighter, without all the straps and braces joined on over the past five years.
If the trough is too heavy for me to carry, then the trough is too heavy.
Saturday, September 14, 2024
My upgraded rainwater trough collected a pail of water early this morning. It is a little cloudy. I shall let the water settle for 24 hours and then filter it for immediate use. I am pleased that this steel-lined trough works.
Over the next few weeks I shall see how well it does at reserving the light falls of rain.
I have ordered an extra sheet of OSB to build myself a lighter trough, which will be firmly hinged with metal hinges.
Friday, September 20, 2024
Well, we are back on track. My bottle capacity is such that I feel no need to trot outside and swap pails at 2a.m. if I am awake. We get enough rain here that I can bring in a 25-litre pail first thing in the morning and another last thing at night. That yields 50 litres of rainwater on any 24-hour period of rain, more than enough for me to replace my bottled stock in March and in September of each year.
If I feel particularly needy one or more rectangular trays set under the shed eaves will build up stocks even faster.
Speaking of the shed, I plan to rebuild the trough (yet again!) this time using a sheet of ˝ inch OSB. I had rather a sheet of Ľ”, but ˝-inch is what I have right now:-
(1) Take a 4’x8’ sheet of OSB, or anything else as \strong as and lighter than.
(2) Mark a line along eight feet just 21” in from one edge. Mark a second line a further 21” from the first line
(3) This yields a sheet 8’ by 42”. Forty-two inches is my current width of galvanized steel.
(4) Mount four or more string hinges along this eight-foot line.
(5) Remove the hinges.
(6) Slice the 8’x42” panel along the eight-foot line.
(7) Remount the hinges.
Bingo! A new trough using the old steel sheets, with no historic chunks of siding, leather hinges etc from the past five years.
The new trench can run along the western side of the shed. The collection pail will be close to the door to the shed, so not a great deal more distance.
This will free up the area behind the kitchen which I think would be a good place to put a six-foot high greenhouse. The greenhouse would be in direct sunlight for much of the day and would be sheltered from the northerly gales by the house itself.
Thursday, October 10, 2024
We had good rain overight. By 11:00 I have brought three 25-litre pails indoors. The first pail appears somewhat muddy; the second has fine gritthat settles out quickly but is otherwise clear; the third appears drinkable as is. Nonethe less I filter the third pail nto a blue demijohn.
Why the change? I supposethat the first (muddy) pail harvested dust that had settled on the roof from my soil sieving over the past three weeks; the second probably held the coarser dust rinsed off during the night; but the third, clear, pail represented rainwater harvested from a well-rinsed roof.
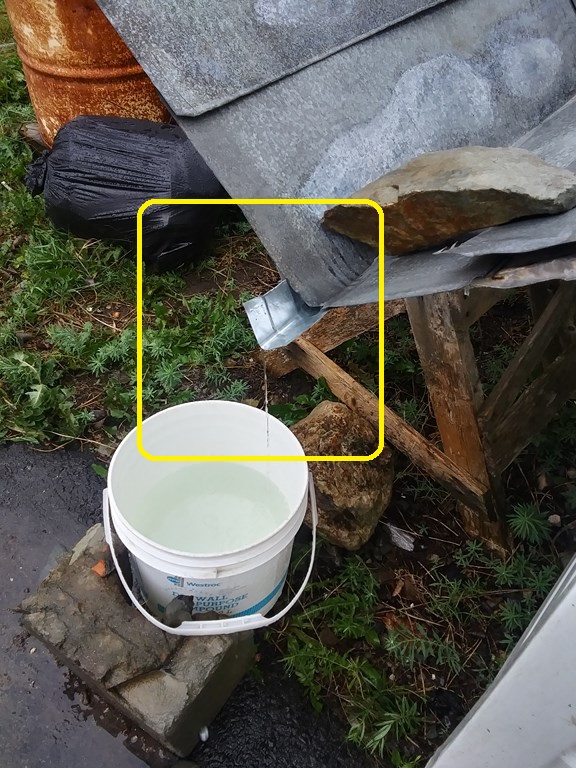
Here the little plate of soft steel channels a stream of fresh rainwater from the trough into the pail. This spout allows any stained water to drop from the wooden trough onto the ground, instread of accumulating in the pail.
709-218-7927 CPRGreaves@gmail.com Bonavista, Friday, February 07, 2025 12:17 PM Copyright © 1990-2025 Chris Greaves. All Rights Reserved. |
|---|